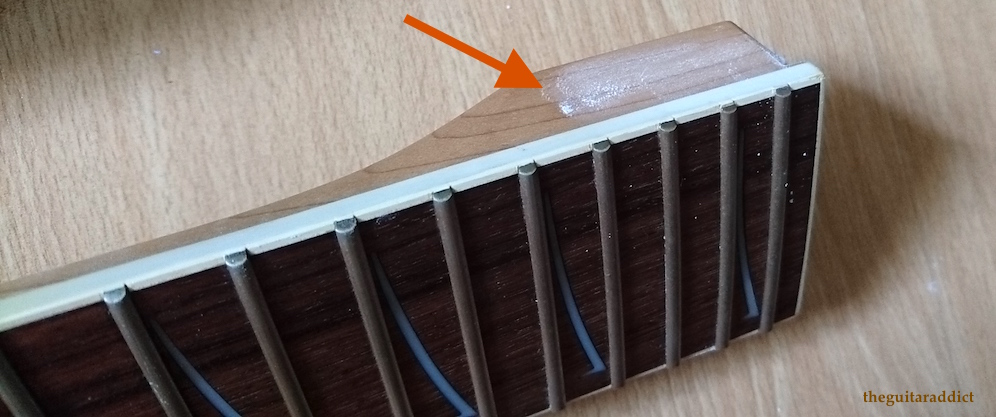
Greetings, folks. I would like to begin December with this sharing because it's something you can DIY at home without bringing it to a tech & getting charged for it. This is a simple shimming exercise using materials/ tools which a non-tech can handle. To begin with, the shim material I'm using is a left over package inlay from a Seyour Duncan pot. The reason for using it- it's a thin material & chances are, you can double/ triple ply it to suit your needs as opposed to starting with a thick material & facing problems of subtraction to make the material thinner.
If you intend to keep the current strings while shimming takes place, use a capo to secure loose strings before removing the neck from the body. Of course, detune your strings first.
Cut out the shim to shape as depicted above. In this instance, I'm using a double ply. What you see there is a piece which had been folded into 2 parts. Make sure the shim material does not move once neck re-attachment takes place. If it does, hold it down with a weenie bit of paper glue. Leave it to dry before returning the neck to where it belongs.
It is my personal habit to powder the sides of the neck so that re-attachment is smooth.
After re-attachment, this is what you should look out for- a leveraged neck end. Please observe slight increments in height. More importantly, your strings should be parallel to the fretboard (I've included the strings here for a clearer reference).
Alright! Good to go! Why is shimming required?
- The inner cavity of the body's neck pocket might be routed a little too deep. Factory hands won't flag this as an anomaly unless the depth is excessive.
- When you tighten the neck screws, softer body wood would compress & this is especially true if wood is not throughly dried before manufacturing takes place
- You switched to a thicker string gauge set & increased the tension of the neck. This tension causes a further downward pressure at the cavity end & guitar necks would sink in after some time. This is again compounded by the body's soft wood material/ lack of proper drying.
Wishing everyone a good December ahead. Year end mood is kicking in. Slowly but surely. 😎